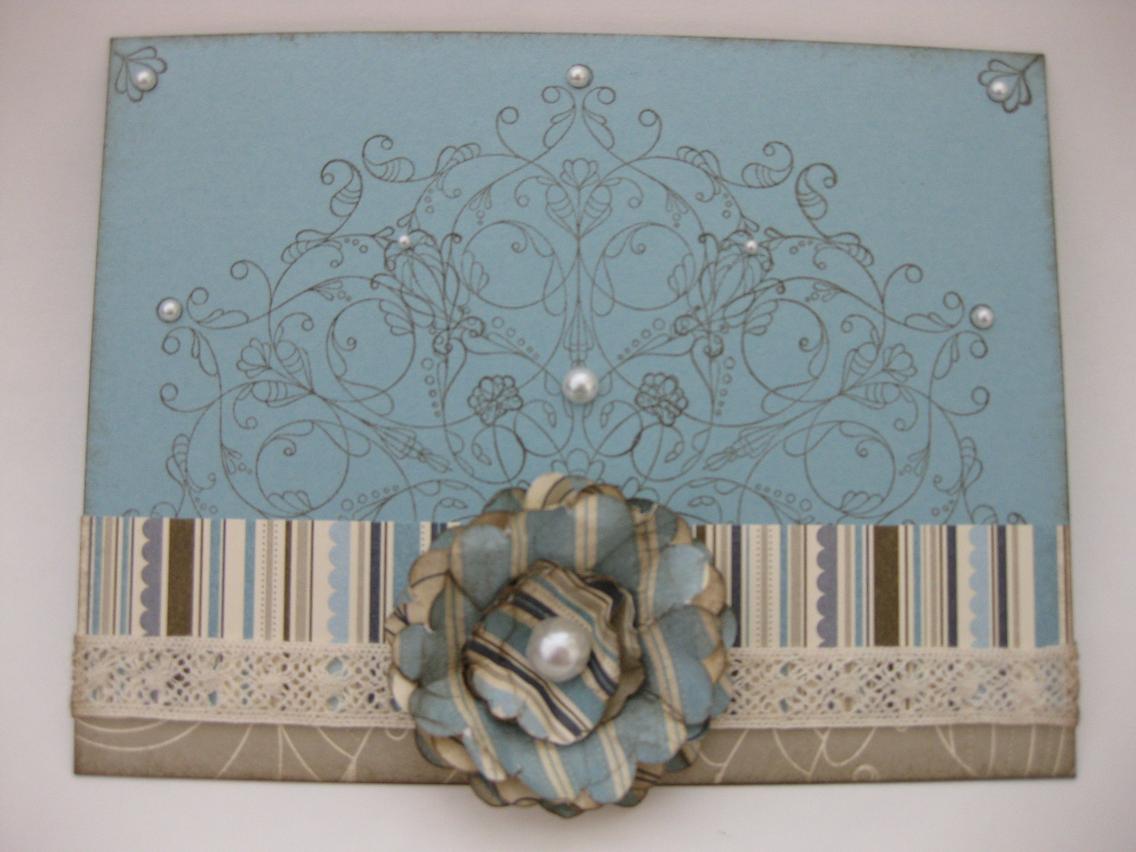
June has grown wings and flown by! So much happening in my world this month - it's left me little time to create. I did sneek some time in to purchase some new sizzix dies and wanted to share this creation with you. As some of you may know, I'm more of a 'case and renovate' girl, but I'm proud to say this one is an original and I'm pleased with the results. Hope you like it!
I used Crumb Cake, Cherry Cobbler and Whisper White cardstock, Crumb Cake, Early Espresso, Craft White and Cherry Cobbler ink. Elements of Style, Vintage Vogue and Artist Etchings were my stamps of choice. I used a distressing tool for the edges of the cherry cobbler matt after running in through an embossing folder. I then crumpled the matt, smoothed it, and adhered it to the base card. The big note die was used on Crumb Cake CS, stamped along the edge with a Vintage Vogue stamp, then dusted the edges with Craft white topped off lightly with Early Espresso. I used another sizzix die to cut the WW and then edged it with Crumb Cake and Early Espresso before using versamark, clear embossing powder and Cherry Cobbler ink for the main image from Artist Etchings. It was then mounted with dimensionals. I stamped the round image and punched it out with the 1 3/4 punch, then used a stencil I had for the 2 inch circle matt. I distress the 2 inch circle a bit, too. The 'for you' image from Elements of Style was embossed on WW, then punched with the small oval punch and mounted with dimensionals. The brads are miscellaneous one I had that just so happened to match my ink - yay for miscellaneous brads! Can't wait to get the 'real deal' from the new catalog! The ribbon is white organza that was wrapped around the corner and adhered to the inside of the card. I created more dry-embossed panels for the inside of the card that covered the brad backs and the ends of the ribbon. Voila! I had a great time and can't wait to give this to someone for any occasion.
Thanks so much for visiting my blog today. I hope it inspires you to create your own original or a case of this one!


 This last one was run through the lattice embossing folder after it was brayered and stamped. I saw this same card on SC and SCS and had to try it! Lots of different stamp sets used for these three cards: Just Believe, Inspired By Nature and Watercolor Trio. Several punches were used too: Photo Corner, oval, scallop, and the slot punch (cattails). The cattail card was brayered on to Daffodil Delight, and the photo corners were run through an embossing folder. Next I'm going to make a brayered gift box to put them in! If you want to learn more about brayering, I highly recommend Michelle Zindorf's website, tutorials and classes. Google her and find over 300 tutorials for her beautiful work! Thanks for looking and I wish you a fun and stampy weekend!