NEW ANNUAL CATALOG IS HERE!

NEW ANNUAL CATALOG IS HERE!
Your new products are available!

Sunday, June 5, 2016

Paper Pumpkin and Flourishes!

Happy Sunday!

With the excitement of the new catalog, I'm a little slow in making new goodies!  However, I did take a quick moment to freshen up one of the masculine cards from the May Paper Pumpkin Set!
Below if a picture of what you can make with just the kit:
Image result for paper pumpkin may 2016
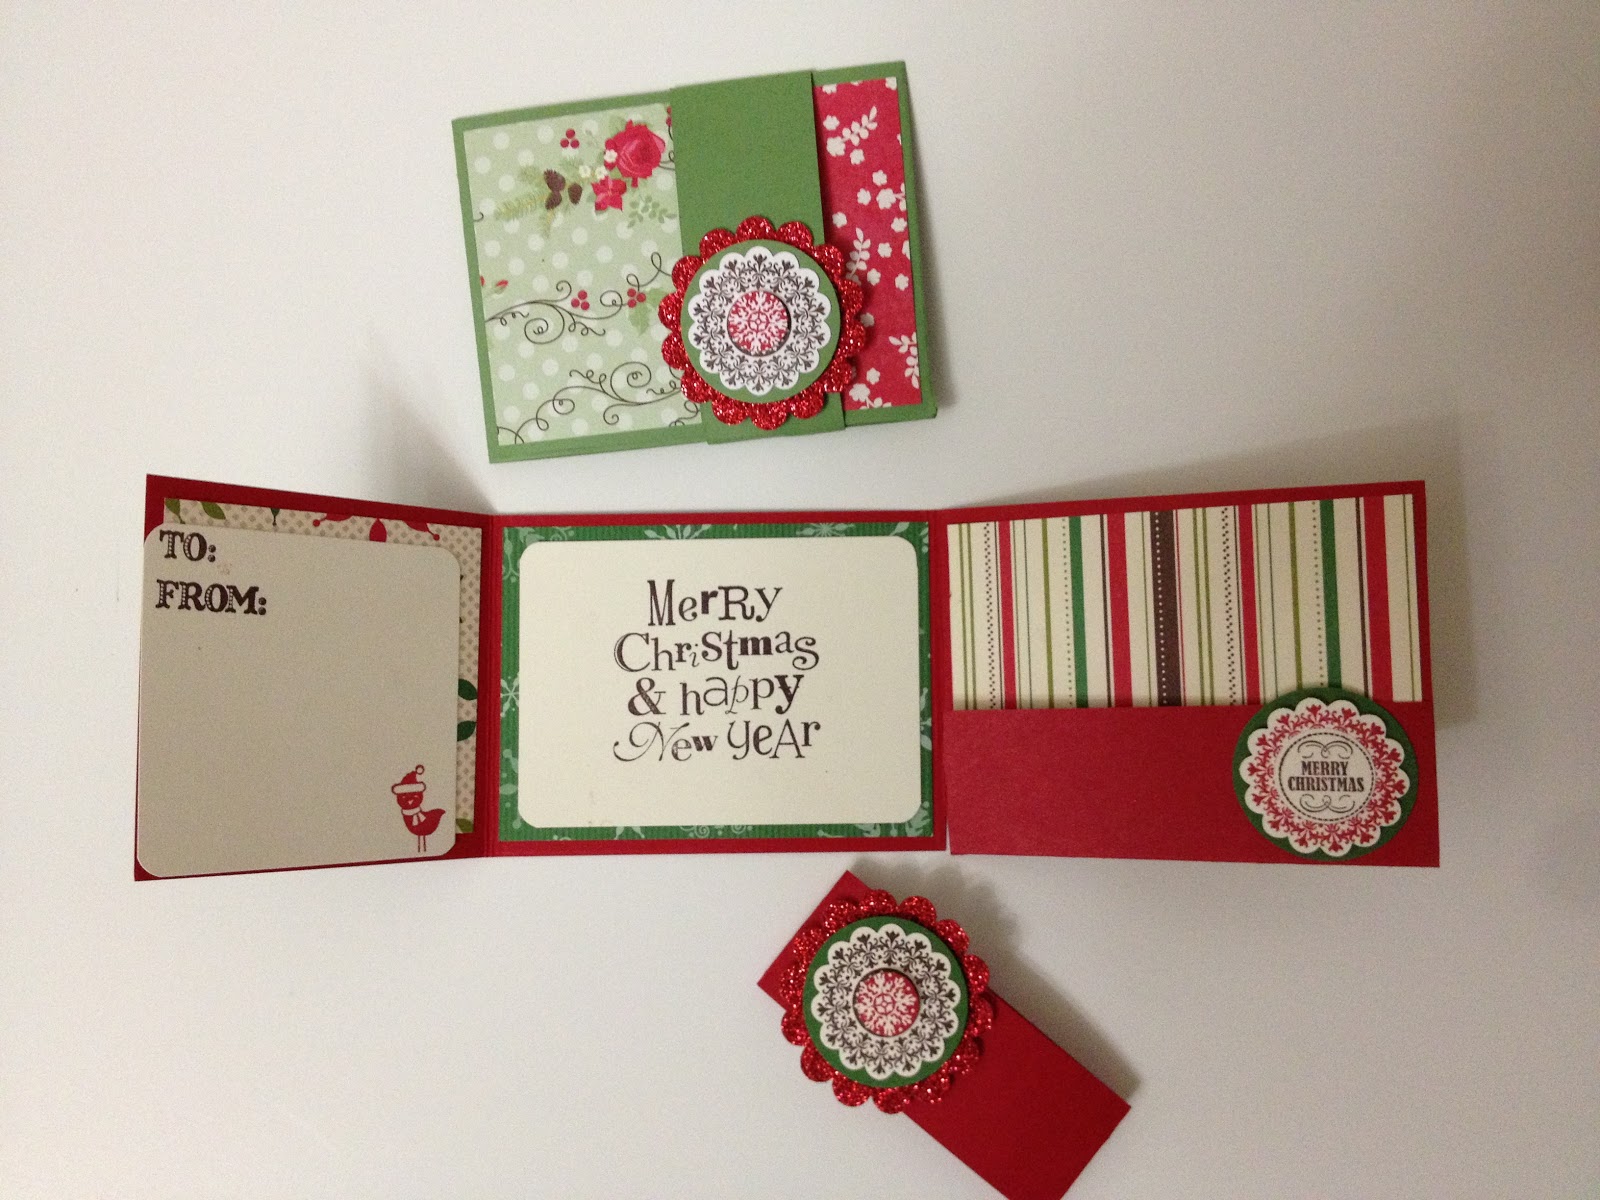
Cute, huh?!  I love Paper Pumpkin arriving at my door step each month!  And, sometimes, I want to play dress up with it:
I added the punched balloons from the Balloon Bouque Punch (pg 187 of the new catalog) and the Balloon Celebration stamp set on page 24 (140675).  The balloons were stamped with the same color ink as the paper, Dapper Denim, Pool Party, and Pumpkin Pie.  I added some bakers twine for balloon strings, and poof!  Quick and easy, with a great result!

I will be posting the new catalog next!  Heads up:  The Best Birds bundle is already back ordered, however, that means it's wise to get your order in now, so you are first in line for the new stock as soon as it arrives!

Look for my next post using the new bundle of Flourishing Phrases and Flourish Thinlits:
 Image result for 2016 flourishing phrases


Image result for 2016 flourishing phrases  It's gonna be GORGEOUS!


Wednesday, May 25, 2016

Preview Goodies from the NEW Catalog!

Hey Everyone!

I finally got a moment to put together some fun birthday cards with my new Swirly Bird Bundle.
The stamp set and diecut is available June 1st.  Here's a picture of the stamp set (not to scale):

I can't get enough of the 'wavy' diecut in the background! I've used it like a vine below, but I've noticed other creative souls are using it as water or a musical staff.  It's versatile, that's for sure!
These colors are from the new in colors available June 1st!  I've used Flirty Flamingo, Peek-a-boo Peach and Emerald Envy.  My white matt is the heavy white cardstock, which I ran thru the Softly Falling Embossing Folder that is carrying over to the new catalog - yippee!

Do you want to make fun, playful cards like this?  Let me know!  Message me and tell me what you want to see and I'll produce it and post instructions, or we can put together a fun party and make it together with your friends!  Post below and let me know what other colors would be fun for this layout or card!  I love to hear from you!


I'm thinking my next post will be a 3-D gift bag item that I came across that is easy to make but looks oh so awesome!

Let me know what you think, and have a crafty kind of day!


Monday, May 16, 2016

A fun surprise from April's Paper Pumpkin

Happy Monday, everyone! I was getting ready to make my Mother's Day cards when I realized I hadn't opened my April Paper Pumpkin Kit. I suddenly remembered that there was some sort of surprise the SU blog had hinted at.... all I could say is WOW! I LOVE IT! It's called All about Everything, and has 18 stamps in the set. It has flowers, leaves, watercolor-type swooshes, and some wonderful greetings! I knew I just had to make my Momma's Day cards with it. This is a super fun set, so I then went searching the internet and found some lovely samples from Linda Fedor, Tracy Jacobs and Christy Fulk (love these ladies):


Each of these cards took about 15 minutes each, start to finish, including some layers and stamping on the inside (not pictured).  How awesome is that?!  I used the Curvy Corner Trio Punch that returned in the Occasions Catalog on the card in the middle (love the way that Melon Mambo pops on the paper!).  This item is retiring and will no longer be available after May 31st.  I love this little gadget, so grab one now before they are gone:

Curvy Corner Trio Punch by Stampin' Up!
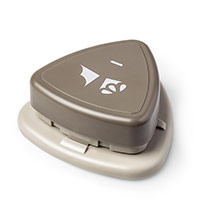
Item #139683, $20.00 is a great price to get 3 punches!
I'll be back soon with a fun card to show you that I'm making with my pre-order items from the new catalog that launches June 1st!  See you soon!

Friday, May 13, 2016

It's been awhile ... but it will be more often!!!

Hellooo my friends and visitors!  I love that you came by to see what I'm up to and what my beloved Stampin' Up!  has to offer these days!

Well, let me tell you.  I'm working less hours in my 'other' job.  Hurray!  More crafting time and more time that I can spend with all of you.  I'm pretty stoked about that, especially with the new annual catalog coming out!

We have SO much going on.... retiring items, clearance rack, and the Occasions and 2015-2016 Annual Catalogs are soon to expire!

I've posted a link to the Occasions Catalog for you.  Remember that you can click the Shop 24/7 button on the right side of my blog to jump in on last minute offering like these awesome items:

All you need to make this eye-catching card is the Party Pop-up Thinlits Dies, which can be bundled with the Party with Cake Stamp set!  Add a circle of some Everyday Chic Designer Series Paper, Whisper White and Melon Mambo paper, and some ink, and you have this cute card as well as many future options!  Item numbers are 138445, 115320, 140272, and the bundle of stamp/dies is 140814.
Have fun with this awesome set and send me a message or post with what you've made!

My next post will be about the past month's Paper Pumpkin bonus - an awesome stamp set that we all received as subscribers... for free!  I had so much fun making Mother's Day Cards with them.... watch for my next post!


Saturday, October 26, 2013

The Holidays are Upon Us!

Halloween Banner LeftoverTime flies when one daughter is getting married and another is having a baby!  It's been TOO long since my last post! 

Today I'm posting a fun Halloween Card creation made from the leftover diecut from the Halloween Banner Kit (pg 30 - 31 of the Holiday Catty).  I have to admit, I wasn't so sure about the whole banner thing.... then, I saw a demonstration at Convention... holy cow!  It was love!  The banner kit comes with pattern stencils, a full alphabet stencil, and 18 canvas banners pieces that measure 5 x 6, that are 3 shapes, 6 each.  I made 3 each of these darling spooky banners:

 
So fun, right?!!
 
Each kit comes with the embelishments here, plus the spider on the card above.

 
So off I went, to use my spider and web on a card!  Using our new washing tape, Gorgeous Grunge stamp set, Chevron Embossing Folder, Simply Scored Board, our mosaic punch, and our retired set, Wicked Cool, I went to task, creating this fun creation. This card went together quickly and was a blast to make!
 
If you would like to host a class on this banner... or, the Christmas Banner shown in the catalog, please let me know!  I'd love to help you and your friends get your creative juices flowing while crafting some lovely 3-D items for your holiday celebrations!  Enjoy, until next time!


Tuesday, December 11, 2012

Giftcard/Money Holders for Christmas! .... and tags!

 
Kelly Gettlefinger came up with these cute little tri-fold gift card holder.  I added the 'tag' and sentiment to make it a card as well.  I've already used these up or taken them to Elite Salon in Midvale, UT.  In fact you can see all these gift cards at the Salon.  The stocking holder is a favorite - the 'cuff' comes off to reveal the opening of the stocking that can hold a gift card or money.  There are lots of variations of these stockings, but I liked this one from Shelly Raines.
 

This wallet style money holder was designed by Michele Reynolds - love her work!  I mail alot of gifts with family being out of state, so I added the envelope.  These cute tags are large enough to write a sentiment or note on the back with added 'blank' paper on the back for that purpose.  It's a tag and card in one!  These printed tags and stamped diecuts are available in the Holiday Catalog from Stampin' Up! 

Many of you should be receiving your Spring Catalogs in the mail, along with the Salabration booklet!  Yes!  It's that time again!  You can order these new products through this website in January!  Look for more fun projects coming soon!  Be warm, be safe and be crafty!  Merry Christmas!

Monday, October 15, 2012

Witchy Trick-or-Treater!

So, I wasn't going to get the Googly Ghouls set when it came out in the Holiday Mini. 
Googly Ghouls Clear-Mount Stamp Set
Yet, my peers influenced me greatly with their awesome creations, so I had to jump in.  I have had SUCH a good time with this set!  This first card is my own creation that combines a retired set that's my Halloween'go to' set, with the new Googly Ghouls:


I used nine different colors of ink, sponging, brayering, masking, and heat embossing techniques for this fun card!  I love how the colors pop! The Trick or Treat bag is from the Bingo Bits Halloween Set. The hardest part?  Cutting out the little Witch!  lol

These next cards are close to direct cases, with some paper and color changes but also use Googly Ghouls:


Connie Babbert is the original creator of the Mummy Trio, which uses Calypso Coral instead of the standard Pumpkin Pie or Cajun Craze as the 'orange' base.  Pumpin Pie was used for the Hiding Mummy.  I like how the Stampin' Up! colors are both used in the DSP... notice they both have the same sheet of DSP as a background!  The Hiding Mummy design was created by Tracey Caudle.  I kept the general layout, and changed the paper, accents and sentiment.  I used different embossing folders too!

All three of these cards are on display at Elite Nail Salon at 7300 South 900 East, next to the Belgian Waffle House, along with several other of my cards and gift boxes. 

HAPPY HALLOWEEN EVERYONE!


Friday, August 31, 2012

All out of Thank You Notes........

I had so much fun last weekend re-filling my stash of Thank You notes and making some extras for my sister and stepdaughter.  (They don't know I actually listened, and heard them drop a hint that they wanted some.)
Here are a few of the cards:


(upper/left) -  Button Buddies is one of my favorite Stamp Sets from Stampin' Up. Sometimes I really struggle though, with smaller images. I was really happy to find this layout which does a great job highlighting a smaller image from this set like the flower pot. Lots of layers, but they are simple. I used the Ice Cream Parlor Kit that is currently available in the clearance rack, along with these coordinating buttons and ribbon. Yummy! I used a small piece of ribbon on the vase to give it more color and dimension. This Kit is super versatile and cheery! 

(upper/center) - Dawn Olchefske made quite a splash at Convention by reviving this layered stamping style.  There are tutorials for it on her website as well as Split Coast Stampers under Resources.  I used the new Stippled Blossoms in Night of Navy and Not Quite Navy, and the Flowering Flourishes in Always Artichoke.  And, I forgot the sentiment; it needed to be stamped first - oh well!  Blank card, it is!  A little Always Artichoke seam binding and we're done.  This is a fun and fairly quick technique that looks oh so elegant! 

(upper/right) - First, if anyone can help me turn this card, I would be grateful.  I've tried everything, and Blogger just really want to keep it in it's original format!  Anyway, I love the simplicity plus Wow factor of dry embossing designer paper.  I love this quick layout! layer a 2" piece of DSP onto solid card stock. Run thru the Bigshot with an embossing folder. Tie on ribbon, stamp a sentiment, punch it, adhere it to a punch of DSP, and attach with dimensionals. Adhere it to your card base, and tada! Quick thank you note!
 
(bottom/left) - The Array of Sunshine Set was stamped in Lucky Limade, Primrose Petals, Baja Breeze and Wisteria Wonder then cut out by hand.  This is Louise Sharp's design, although her sentiment, colors and background matting are different. 
 
(bottom/right)  I love the French Foliage set, but it took me awhile to warm to it.  I love it now! This collage technique is a fun way to 'make' your own designer paper!  
 
I hope you can find a technique, layout, color combination or stamp set from my post that inspires you!  Happy Stamping! 


Friday, August 17, 2012

Quick Christmas Notecards!

Hey Everyone!  Well, I'm back from vacation and busy with my push to get ahead of the holiday rush by getting some Christmas Cards made in advance.  At the Stampin' Up! Convention this year, Bonnie Thurber demonstrated the Snow Festival Designer Printed Tags and a quick option for Christamas Cards combined with SU Note cards.  I thought I would step it up, and include the Festival of Prints Designer Series Paper Pack, too!  These little darlings came together very quickly!  So, for $16.85 in supplies and a Christmas Sentiment and a little bling and ribbon, I have 25 quick cards!  Even with ribbon and bling, it's less than $1 each to make!  Sweet!

For an extra little dazzle, I used the jumbo wheel to snaz up the envelopes.  Loved how these turned out!  All of these products can be purchase at my online store... just click the this image on the right to shop now:
Visit my Stampin' Up! websiteHave a great day and I'll be posting more from Convention this weekend!

Monday, July 30, 2012

Nakaba's Suntanned Piggy!

I found this adorable little suntanned piggy on Nakaba Rager's website, and had to Case it, and then share it with you. I made a few paper color changes such as .. I used Midnight Muse and she used Island Indigo, and Close to Coca for her sunglasses instead of Soft Sude.  I also used the ribbon punch instead of the framelit for the umbrella's ruffle. This is a fun punch art card that is great if you need to 'create' in the midst of interruption... there are lots of small, quick steps that you can complete as you pass by your crafting space, and then go put in a load of laundry! :) Enjoy your day as much as this little piggy seems to be enjoying hers!
Here is the info from Nakaba's Website, or you can go to her page at: http://www.stampinup.net/esuite/home/naki/blog?directBlogUrl=%2Fblog%2F2100429%2Fentry%2Fjune_27_2012

Stamp set: Button Buddies, Spooky Bingo Bits


Paper: Whisper White, Midnight Muse, Pool Party, Real Red, Crumb Cake, Close to Cocoa, Early Espresso, Summer Smooches Designer Series Paper

Ink: Crumb Cake, Real Red

Tool: 2-1/2" and 1/2" Circle, Owl Builder, Boho Blossoms, Jewelry Tag Punches, Fancy Fan Textured Impressions Embossing Folder, and Ribbon punch

Saturday, July 28, 2012

Matchbook Giftcard Holders

The Tour de France is over, and congrats to Brad Wiggins for the win!  Now, at the Sports Mall where I teach Spinning, we've been having our own Tour Ride.  We have taken roll for all riders and incorporated the profiles from the Tour as the ride for that day's spin class.   John Harley was our male winner and rode all 23 rides! Penny McNair was our female winner with 19 rides.  Taylor Optical gave away a $200 gift certificate for a pair of oakley sunglasses - woohoo!  Each rider earned a ticket in our drawing for each day they rode, up to 10 rides.  Why am I telling you all of this?  Well, I made Giftcard Holders for our three top winners:

The green holder is a direct case from Convention 2 years ago.  The Primrose Petals is combined with Not Quite Navy ribbon and stamped 'just for you' sentimment from the Just Believe stamp set.  The Daffodil Delight holder is paid with Night of Navy and Cherry Cobbler for the coloring.  The bike is from a retired set, but perfect for my spinning crew!  Here is the inside:

This was very fun and quick to do!  The matchbook is 31/2 inches by 12 inches.  Score at 5.25 and 10.5".  Crease with a bonefolder.  At the flapless end, use the Word Window punch to make the slot.  You want to punch no more than 1 inch into the matchbook.  Then, using papersnips, cut  the short flap diagonally about 1.25" IN from each side to the outside edge of the flap.  This will make the flap fit into the slot.  Staple the ribbon to the center of the outside of the flap twice and tie a simple knot.  Attach a little jewel tag punch with some linen thread or twine.  Using versamark or same color ink, stamp the image of your choice tothe outside cover and a sentiment.  I attached a 3" by 5" cellophone bag with snail adhesive to the inside so it can hold anything from a gift card to money to treats, and becomes re-usable!  I hope you will try this simple little holder and dress up your small gifts.  Thanks for looking!


Sunday, July 22, 2012

Stampin' Up! Convention 2012 was amazing!

I AM.... inspired, motivated, exhausted and filled with creative ideas after attending Convention this year!
So many announcements were made, too! Chelsea and I had a blast in the break out classes, but one of my favorites was Shannon West's I Am Having Fun!  And, along that line, with all the swaps I made, this one for my Facebook Group, All Things Stampin' Up!, is probably my favorite:
For one thing... this is not a CASE!  That's rather miraculous because I'm SUCH a caser.. :)  I love this Patio Party DSP, and actually found that I like Summer Starfruit in this color combination.  I used lots of framelits here from the Bitty Banner set and the Label Framelits.  Now, I am a BIG fan of embossing folders, but this new Fanfare folder is my absolute new Go To folder!  It can be used for literally any occasion, from Baby to Masculine!  I actually used the negative side for this particular card.  I used blender pens and a multitude of colors for the cute little Ark image, Two by Two.  It's an ala carte stamp in the new catalog this year.  Leave me a comment if you have any questions on this card, and I'd love suggestions as to what stamp set, technique or color combo YOU would like to see me use on my next post!  CHALLENGE ME!  I'm up for it!  Thanks for stopping by!


Saturday, July 14, 2012

Take Care Owl Friends

Happy Summer to you!  I've been busy getting my swaps ready for SU Convention.  What a busy time, especially with the new Catalog AND Occasions Mini just coming out.  So much to see - and BUY!  heehee!  I signed up for a technique swap and chose emboss resist and brayering as my techniques.  I thought it would be fun to demonstrate how to put a scene together.  I learned how to do this from Michelle Zindorf who is an AMAZING artist and stamper!  BEST art class I ever went to!  You can google her name and check out her tutorials - they're amazing.  :)

Anywhooo..... I chose to have some fun with the new Take Care set from SU. It has a branch in it that I thought could also be used as a tree.  Here is how it turned out:

Here is the actual Take Care stamp set:  Take Care Clear-Mount Stamp Set

The little owls are stamped, cut out and popped up on dimensionals.  I have included a tutorial that illustrates how to put a scene together here:  Tutorial for Take Care Owl Friends  I had fun making all 16 of these, and hope you'll find your own CASE of this fun little project!  More to come soon!

Friday, May 4, 2012

Morning All!  I just had to share this video with you from Patricia Giesbrecht!  It demonstrates how to use re-inkers to refill markers!  So awesome!  Re-inkers have SO many uses from refilling pads and markers to all kinds special techniques.  This is quick and easy to do - watch:  Using Re-inkers on Markers.

And, some fun and unusal news from SU!  Several Occasions Mini items are carrying over to the Catalog available June 1st!  They can be found here:  Occasions Mini Carryover Items.

Also, Email me if you would like to pre-order a catalog, as they have reduced the price!  Catalogs are now available for direct shipping!  I'm so excited for this feature!  I can now deliver a catalog to you, directly from Stampin' Up!  The new annual Catalog will be available for Pre-order May 7th, and will be delivered between May 7th and May 21st!  I can't wait to see what fun goodies we can play with over the coming year!  I was able to do a little pre-ordering for you, so look for new project posting with new In-Colors, embellishments and stamps!

Until then, have a great day!

Tuesday, May 1, 2012

College Graduation is just around the corner!

It's a great day!  My youngest daughter was accepted into Nursing School at the University of Utah.  We are so thrilled and proud of her!  Goooo Katie!  And, it's grad week for the Universities here, so I made some grad cards that are available for purchase and viewing at Elite Nail Salon at 7301 South 900 East.  Those gals do a great job - I love getting my nails done there!  The U of U colors are Red, Black and White:

The penguin and gown designs are old favorites, yet retired stamps that I love....  The floral stamps are currently available and can be purchased for YOUR grad cards at the button on the right "Shop 24/7".  It's also that time of year for Stampin' Up's retired list and NEW catalog!  Below is a link to the retired items that are deeply discounted and available for sale: SU Retired List

Lots of new goodies will be announced soon, as Stampin' Up releases it's new colors and annual Idea Book and Catalog!  I can hardly wait!  Stay tuned for more fun creations and have an awesome day!